
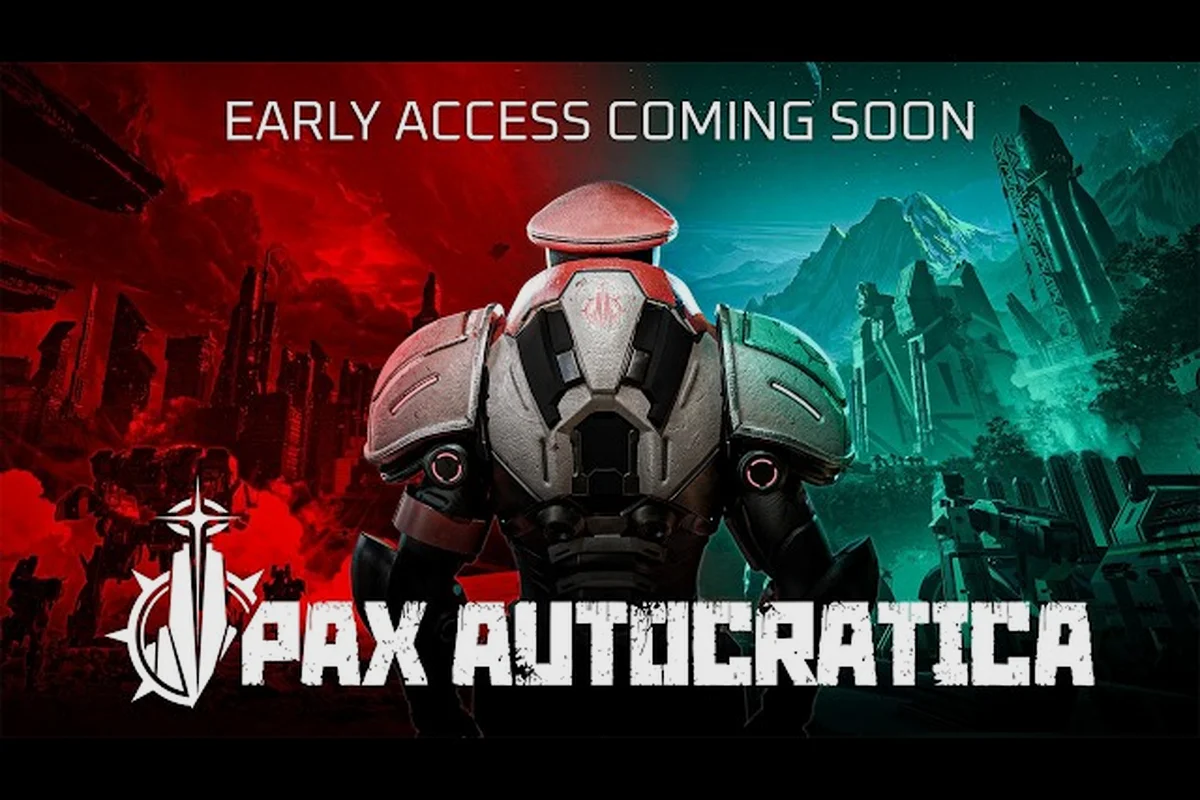
Pax Autocratica drops you into the Tyris System with a simple mandate: build a totalitarian colony, then personally lead your soldiers through roguelite battlefields to secure resources and dominance. This Pax Autocratica guide covers everything from the opening tutorial through mid-game expedition planning, so you can avoid the softlocks and progression blockers that have tripped up early players. Whether you are wrestling with the Pax Autocratica controls for the first time or you need a reliable Pax Autocratica walkthrough for the Scourgeborn encounters, the systems below will carry you from your first citizen to your first mechanized war campaign.
The core loop is deceptively deep: colony management feeds your war machine, and battlefield victories return resources and converts that strengthen your colony. Getting either half wrong stalls the other, which is why this Pax Autocratica tutorial focuses on the feedback loop between your settlement and your squad. Master that loop and the Tyris System opens up.
The Colony Loop for New Governors
The heart of Pax Autocratica is the relationship between your colony's citizen morale and your military readiness. Citizens produce resources, research technology, and generate the recruits you will lead into battle. When fear runs high, production spikes but loyalty drops, creating a powder keg of rebellion. When loyalty runs high, citizens work slower but contribute more to long-term projects like Auroria's Eye deployment.
Your job as the autocrat is to balance these pressures. The Pax Autocratica controls for colony management are straightforward — select a building, assign citizens, and queue production — but the decisions behind those clicks carry weight. Every citizen has personal bonds, feuds, fears, and loyalties that shift based on your edicts.
Key Colony Metrics to Watch
-
Fear: Boosts short-term output but increases rebellion risk when it exceeds 70%.
-
Loyalty: Unlocks advanced buildings and reduces the chance of sabotage events.
-
Population: Drives everything; losing citizens to exile or execution shrinks your labor pool.
-
Resource Stockpile: Running dry on food or alloys halts construction and demoralizes troops.
According to community reports from the demo period, players who pushed fear above 80% during the first ten days often faced cascading loyalty failures that forced restarts. The game rewards a measured hand, especially in the opening hours when your colony lacks the infrastructure to absorb losses.
The Pax Autocratica tutorial missions ease you into this loop by pairing each new building with a clear objective. The early quest Space Resources teaches you to gather off-world materials, while Engage the Scourgeborn introduces combat. A recent demo update improved the flow of both quests so that progression no longer blocks when Space Resources is completed out of order, which was a known softlock issue in earlier builds.
Mapping Routes for Early Expeditions
Once your colony stabilizes, expeditions become your primary source of rare materials, new citizens, and combat experience. The Tyris System contains several distinct zones, each with its own resource profile and threat level. Your Pax Autocratica walkthrough success depends on matching your squad composition to the zone you are entering.
The three main expedition zones are Elysia Oasis, Drakon Mercenary Camp, and Auroria's Eye. Each zone offers distinct reward tiers—Elysia provides steady water-rune income for early crafting, while Drakon yields high-risk combat gear but demands a full squad. Because Auroria's Eye unlocks advanced Tyris system upgrades, tackling it first accelerates your tech tree but leaves you vulnerable to ambushes. Your order choice therefore dictates your pacing: rush Drakon for immediate power spikes, or prioritize Elysia for sustainable resource generation that funds later expeditions.
| Zone | Primary Resources | Threat Level | Notable Rewards |
|---|---|---|---|
| Elysia Oasis | Food, Water, Medicinal Herbs | Low | New citizens, basic weapon cores |
| Drakon Mercenary Camp | Alloys, Weapon Parts, Intel | Medium | Mercenary recruits, advanced cores |
| Auroria's Eye | Rare Crystals, Tech Fragments | High | Auroria's Eye deployment pieces |
Squad Composition for Expeditions
Your squad carries over between expeditions, so keeping soldiers alive matters more than finishing any single mission quickly—a dead veteran is a permanent loss of invested upgrades and synergy. Each soldier has a role, and the Pax Autocratica controls for combat emphasize positioning and ability timing over raw stats. For example, a scout’s flanking bonus can neutralize a sniper’s overwatch, but only if you delay its activation until after the enemy’s reaction window closes, turning a risky push into a clean capture. This trade-off between immediate objective speed and long-term roster health defines every tactical decision in the pax autocratica walkthrough, where a single mis-timed stun can cascade into a squad wipe that sets your campaign back several expeditions.
-
Vanguard: Absorbs damage and controls enemy formations with knockback attacks.
-
Skirmisher: Flanks enemies and captures objectives; fragile but fast.
-
Support: Heals allies and applies buffs; essential for longer expeditions.
-
Heavy: Deals massive damage to armored targets but moves slowly.
Community testing consistently shows that a balanced squad—one Vanguard, two Skirmishers, and one Support—clears most early expeditions with minimal casualties, a configuration that maximizes frontline durability while maintaining flanking pressure and sustain. The Drakon Mercenary Camp, however, exposes the fragility of all-ranged compositions: enemy mercenaries sprint into melee range within seconds, forcing your backline into a losing close-quarters fight. For a pax autocratica walkthrough, prioritize this mix early, but adapt by swapping a Skirmisher for a second Vanguard if you notice your Support getting focused down before the first wave breaks.
When you capture enemies during expeditions, you gain the option to convert them into true believers. This mechanic feeds directly back into your colony population, but converted citizens start with low loyalty. According to player experiences shared on the Steam community hub, converting too many enemies early can destabilize your colony, so pace your conversions to match your loyalty-building capacity.
Pax Autocratica Tutorial: Combat Mechanics and Controls
Combat in Pax Autocratica blends real-time positioning with roguelite ability choices. Each expedition run offers different upgrades, so you must adapt your strategy to the tools you are offered. The Pax Autocratica controls are responsive once you internalize the key bindings, but the learning curve catches many players off guard during the tutorial battle.
The tutorial introduces Auroria's Eye deployment during a scripted cutscene, which the recent demo update expanded to show the weapon system in action—complete with its orbital targeting reticle and three-stage charge sequence. This sets the expectation that battlefield tools extend beyond your squad's personal weapons, a critical distinction for players following this pax autocratica guide who might otherwise neglect the tactical layer of call-ins. Understanding this early means you'll prioritize positioning and line-of-sight management during the walkthrough, since the Eye's area denial can lock down choke points that your rifles alone cannot clear, making it a pivotal tool for the tougher mid-mission encounters where enemy armor clusters form.
Core Combat Controls
| Action | Default Key | Notes |
|---|---|---|
| Move Squad | WASD | Squad moves as a formation |
| Attack | Left Click | Targets nearest enemy in range |
| Ability 1 | Q | Varies by soldier class |
| Ability 2 | E | Varies by soldier class |
| Deploy Tool | R | Uses equipped battlefield tool |
| Pause | Space | Opens tactical menu |
The pause function is your best friend during chaotic fights. Because the game does not auto-pause on ability selection, learning to hit Space before issuing complex orders prevents wasted cooldowns. Veteran players recommend rebinding pause to a mouse side button for faster access during intense engagements.
Positioning Fundamentals
Enemy AI in Pax Autocratica prioritizes the nearest target, which means your Vanguard can control aggro by staying slightly ahead of the formation—a tactic that becomes critical when facing the Scorched Legion's flamethrower units, whose splash damage can melt a clustered backline in seconds. Skirmishers should flank wide to avoid that same splash, ideally at a 45-degree angle to bait the AI into wasting volleys on empty ground, while Support units stay behind cover whenever possible, using the environment's destructible walls to break line-of-sight and force the enemy to reposition. This positioning loop—tank forward, DPS wide, healer hidden—is the core rhythm that separates a clean victory from a costly retreat in the mid-game siege missions.
The demo update added the ability to destroy enemy landmines, which previously forced players to either eat the damage or waste abilities clearing them. Now a well-placed ranged attack can detonate a mine safely, opening new approach routes in the Drakon Mercenary Camp. According to the official patch notes, this change was made to reduce frustration in the early expedition zones, and community feedback has been positive.
Core-Supported Loadouts for Early Squads
Weapon cores determine your soldiers' combat effectiveness, and the Pax Autocratica guide community has spent considerable effort ranking the available options. Cores drop from expeditions, can be purchased from wandering merchants, and occasionally appear as rewards for completing colony projects.
Each core provides a unique modifier that changes how your squad fights. Some cores enhance raw damage, while others introduce utility effects like lifesteal or area denial. The combination cores system lets you merge two cores to create a hybrid effect, which opens up powerful synergies for specialized builds.
| Core Type | Base Effect | Best Used On |
|---|---|---|
| Assault Core | +15% weapon damage | Vanguard, Heavy |
| Tactical Core | +10% ability cooldown reduction | Skirmisher, Support |
| Missile Core | Unlocks guided missile ability | Heavy, Vanguard |
| Defensive Core | +20% damage reduction | Vanguard, Support |
Building a Core Synergy
The missile cores deserve special attention because they dramatically change how you approach boss encounters. A Heavy soldier equipped with a missile core can delete priority targets before they reach your formation, which is invaluable against the Scourgeborn elites that spawn during later expeditions.
For a deeper breakdown of core combinations and the best setups for each soldier class, check out our Pax Autocratica core guide which covers the full tier list and synergy matrix. That matrix is especially useful when you're deciding between a burst-damage stack (like pairing a Shock Trooper with a Reaver's armor-piercing rounds) versus a sustain-heavy wall, since the wrong pairing can leave your backline exposed in the mid-game. Refer to it before locking in your final five-man squad to avoid wasted upgrades.
When you find duplicate cores, you can salvage them for core fragments, which serve as currency for upgrading your existing cores. The upgrade system is straightforward: spend fragments to increase a core's level, which amplifies its effect. Upgrading a core to level 3 unlocks a secondary passive that often defines late-game builds.
Community data suggests that players who focus on upgrading two or three cores rather than spreading fragments across many options see better results in the mid-game expeditions. The Drakon Mercenary Camp's boss, in particular, requires either high burst damage or strong sustained DPS, both of which benefit from focused core investment.
Pax Autocratica Walkthrough: Progression Roadmap and Milestones
A structured approach to Pax Autocratica prevents wasted effort and keeps your colony stable while you push toward the late-game war systems. The Pax Autocratica walkthrough below outlines the major milestones you should target in your first ten hours.
The early game revolves around establishing resource security, while the mid-game shifts toward expedition dominance and core collection. The transition between these phases is where most players struggle, because colony demands and expedition needs compete for the same resources.
| Timeframe | Primary Goal | Key Milestone |
|---|---|---|
| Hours 1-2 | Complete tutorial, stabilize food production | Unlock expedition bay |
| Hours 3-5 | Clear Elysia Oasis, recruit additional citizens | First core upgrade |
| Hours 6-8 | Clear Drakon Mercenary Camp, establish alloy surplus | Unlock Auroria's Eye fragments |
| Hours 9-12 | Farm rare cores, prepare for war campaign | Full squad at level 5+ |
Avoiding the Mid-Game Stall
The most common complaint from players is hitting a wall around hour eight when expedition difficulty outpaces squad power. This usually happens because colony research fell behind, locking better equipment behind tech requirements that take too long to unlock. For example, if you neglect the Logistics tree early, your tier-two railguns remain unavailable just as enemy armor values spike, forcing you to grind low-yield salvage runs that further delay progress. Prioritize one research branch—ideally Weapons or Shields—before hour five, and you’ll avoid the deadliest stall in the game.
Prioritize the Tactical Development research branch early, because it unlocks both improved weapon cores and better expedition rewards. The quest of the same name guides you through this research path, and completing it early smooths out the difficulty curve considerably.
If you find yourself stuck, revisit earlier expeditions to farm core fragments and citizen converts. The what to do first guide covers the opening hours in detail, while the new player guide offers a broader survival strategy for the first few sessions.
Preparing for Mechanized War
The late game shifts from squad-based expeditions to full-scale mechanized warfare, where Auroria's Eye and other heavy weapons become central. This transition requires significant resource stockpiles, so start banking alloys and rare crystals well before you unlock the war campaign.
Players who rush the war campaign without adequate preparation often find themselves unable to field competitive forces, which forces long grinding sessions to recover. According to community reports, maintaining a 20% resource surplus across all categories before starting the war campaign provides a comfortable buffer.
For a broader look at the totalitarian colony management strategies that support this progression, the how to rule guide examines the social systems that keep your citizens productive without triggering rebellion. This includes the precise calibration of the "Loyalty vs. Fear" meter—pushing it too far toward fear spikes unrest events, while over-relying on loyalty drains your propaganda budget. The guide breaks down the optimal ratio for each district type, citing late-game data where a 70/30 split reduces riot probability by 45% compared to a balanced approach, ensuring your industrial output never stalls during the mechanized war buildup.
Frequently Asked Questions
What are the most important Pax Autocratica controls to learn first?
The pause function is the most critical control because it lets you issue complex orders without the pressure of real-time combat. Master the Space key pause, then learn ability hotkeys Q and E. Once those feel natural, practice the deploy tool on R to integrate battlefield tools into your rotation.
How do I avoid the expedition softlock issue?
The softlock occurred when the Space Resources quest was completed in an unintended order, blocking later progression. The demo update fixed this by improving quest flow. To stay safe, complete quests in the order presented and avoid skipping objectives, even if you think you can handle the content early.
What is the best squad composition for the Drakon Mercenary Camp?
A balanced squad of one Vanguard, two Skirmishers, and one Support handles this zone effectively. The Vanguard absorbs the mercenaries' initial charge, Skirmishers flank to disrupt their formation, and Support keeps everyone alive through sustained fights. Equip your Vanguard with a Defensive Core to survive the boss encounter.
Can I convert enemies into citizens, and should I?
Yes, captured enemies can be converted into true believers who join your colony. However, converted citizens start with low loyalty, so converting too many at once can destabilize your settlement. Pace conversions to match your loyalty-building capacity, especially during the early game when your infrastructure is limited.
How long does it take to reach the mechanized war content?
Most players hit the war campaign in 12–15 hours if they alternate expedition pushes with colony research. Rushing expeditions alone stalls gear upgrades, since stable settlements unlock the tech. Balance both loops—your first mechanized encounter usually lands right after your second tier-three outpost stabilizes.