
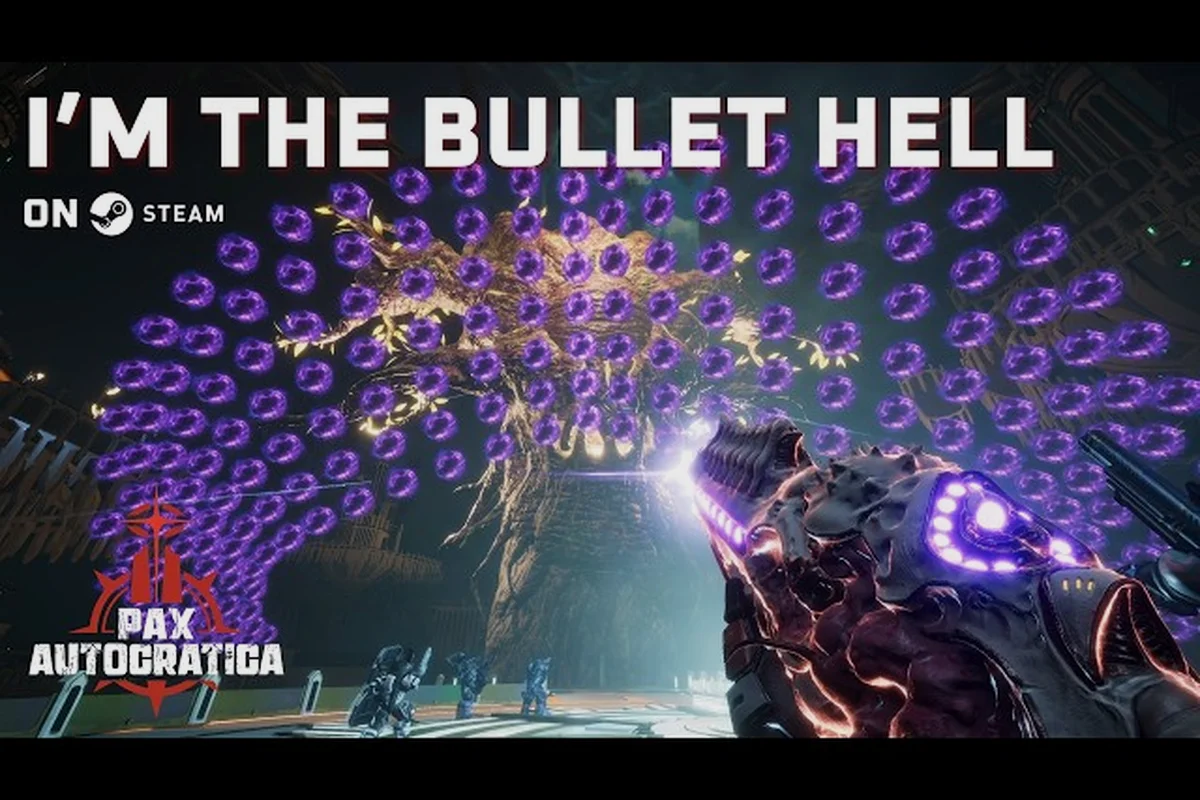
Affixes in Pax Autocratica determine how your weapons and gear perform in combat, yet most players overlook them until the mid-game when enemy resistances start punishing sloppy builds. Understanding the pax autocratica affix guide fundamentals — especially the Auto-Defense affix and how affix scaling works — separates smooth runs from frustrating wipes. This guide breaks down every affix category, explains which damage types counter which enemies, and gives you a clear priority list for rolling weapons that match your combat difficulty level. By the end, you will know exactly which stats to chase and which affixes to avoid.
Understanding the Auto-Defense Affix System
The pax autocratica auto defense affix triggers a defensive response when enemies land hits on your squad, and it has become one of the most debated mechanics since the demo update added a danger warning for it. When an enemy attacks, the affix activates a counter-measure that can block, reflect, or mitigate incoming damage depending on the weapon roll and your soldier's combat stats. The system does not activate on every hit — it has an internal cooldown that scales with the affix tier, which means higher-tier rolls provide more frequent protection but also demand better positioning.
According to community reports from the recent demo update on Steam, the Auto-Defense affix now displays a danger warning before triggering, giving players a brief window to reposition. This change was implemented because the affix could previously catch players off guard when it redirected enemy projectiles in unexpected directions. The warning appears as a visual cue on the affected soldier, and it lasts roughly one second before the counter-measure activates.
How Auto-Defense Interacts with Enemy Types
Different enemy factions in the Tyris System interact with the Auto-Defense affix in unique ways, and knowing these interactions helps you decide whether to equip it at all. The Scourgeborn, for example, deal heavy melee damage that triggers the affix reliably, while ranged enemies like the Drakon mercenaries often fire projectiles that the affix reflects back at them.
| Enemy Type | Auto-Defense Effectiveness | Recommended Affix Tier |
|---|---|---|
| Scourgeborn melee | High — reliable trigger | Tier 2 or higher |
| Drakon ranged | Medium — projectile reflection | Tier 3 for consistency |
| Auroria's Eye units | Low — avoid if possible | Tier 1 only |
| Landmine deployers | High — destroys mines | Tier 2 |
The affix also destroys enemy-deployed landmines when triggered, which the demo update confirmed as a new interaction. This makes the pax autocratica auto defense affix particularly valuable in expedition zones where mines are common, but you should still pair it with proper positioning since the cooldown leaves gaps in coverage.
Affix Scaling and Combat Stats Explained
The pax autocratica affix scaling system determines how much benefit you get from each affix tier, and it directly ties into your soldier's combat stats. Every affix has a base value that multiplies based on your relevant stat — for damage affixes, that stat is usually Power or Precision, while defensive affixes scale with Resilience or Agility. Understanding this scaling curve matters because a Tier 3 affix on a soldier with low stats often underperforms compared to a Tier 2 affix on a properly built soldier.
The scaling formula follows a diminishing return pattern, which means the first 20 points in a relevant stat provide the largest boost to affix effectiveness. After that, each additional point contributes less, so you should balance stat investment across multiple affixes rather than stacking one stat exclusively. This is especially important for the pax autocratica combat stats like Power and Precision, which affect multiple affix types simultaneously.
Stat Priority by Affix Category
Different affix categories scale with different stats, and the table below shows which stats matter most for each category based on community testing and the official expedition guide on paxautocratica.com.
| Affix Category | Primary Stat | Secondary Stat | Diminishing Return Threshold |
|---|---|---|---|
| Damage affixes | Power | Precision | 25 points |
| Defensive affixes | Resilience | Agility | 20 points |
| Utility affixes | Agility | Power | 15 points |
| Support affixes | Precision | Resilience | 20 points |
Players who focus on a single combat stat often hit the diminishing return threshold early and waste potential affix power. A balanced approach — spreading points across Power and Precision for damage builds, or Resilience and Agility for tank builds — yields better overall affix scaling than dumping everything into one stat. The pax autocratica affix scaling system rewards this balance because each stat governs multiple affix categories, so diversification naturally increases your total effective power.
Damage Types and the Ineffective Damage Indicator
The pax autocratica damage types system uses a rock-paper-scissors model where each enemy faction resists certain damage types and takes bonus damage from others. The demo update introduced an "Ineffective" damage indicator that appears when your attacks are resisted, which helps you identify mismatches mid-combat instead of guessing. This indicator shows gray numbers instead of the normal white or yellow damage numbers, and it appears both on direct attacks and on affix-triggered damage.
The pax autocratica ineffective damage mechanic is not just a visual cue — it represents a real 50% damage reduction against resisted types, which can turn a supposedly strong weapon into a liability. Conversely, matching the correct damage type to an enemy's weakness grants a 25% bonus, making type matching one of the most impactful decisions in combat. The table below shows the damage type relationships based on community data from the demo.
| Damage Type | Strong Against | Weak Against | Neutral |
|---|---|---|---|
| Kinetic | Scourgeborn | Auroria's Eye | Drakon |
| Energy | Drakon | Scourgeborn | Auroria's Eye |
| Plasma | Auroria's Eye | Drakon | Scourgeborn |
| Toxic | All (reduced) | None | None |
Toxic damage deals reduced damage across all enemy types, which makes it a poor primary choice despite its status effect potential. The pax autocratica ineffective damage indicator becomes especially important when you encounter mixed enemy groups, because you need to prioritize targets that your current damage type can actually hurt. Switching weapons mid-fight is often the right call, and the game supports this through the quick-swap system that the combat guide covers in detail.
Weapon Rolls and Affix Priority by Combat Difficulty
The pax autocratica combat difficulty setting directly influences which affixes you should prioritize on your weapons, because higher difficulties introduce tougher enemies with more resistances and aggressive behavior. On Relaxed difficulty, you can afford to experiment with utility affixes and niche damage types, but Standard difficulty and above demand optimized rolls that match the enemy composition of each expedition zone. The demo update also improved early-game quest flow, which means you will encounter tougher enemies sooner than before.
For players tackling the higher combat difficulty levels, the affix priority shifts toward reliability over raw power. The pax autocratica auto defense affix becomes more valuable because enemies deal more damage per hit, and the danger warning gives you time to react. Damage affixes should match the dominant enemy type in the zone you are farming, which requires checking the expedition briefing before you deploy.
Best Affix Combinations by Difficulty
| Difficulty | Priority Affixes | Secondary Affixes | Avoid |
|---|---|---|---|
| Relaxed | Damage, Utility | Auto-Defense, Support | None |
| Standard | Damage, Auto-Defense | Support, Utility | Toxic damage |
| Hard | Auto-Defense, Support | Damage, Utility | Low-tier rolls |
| Expert | Support, Auto-Defense | Damage | Single-stat builds |
The priority table reflects community testing across multiple runs, and it aligns with the pax autocratica affix scaling principle that defensive affixes gain more value as enemy damage outpaces your health pool. On Hard and Expert difficulty, the Auto-Defense affix effectively becomes a second health bar because it mitigates hits that would otherwise chunk your soldiers. You should also consider the soldier traits that complement your chosen affixes, since certain traits boost affix trigger rates or reduce cooldowns — the soldier guide covers these synergies in depth.
Practical Affix Rolling Strategy and Resource Management
Rolling affixes on weapons costs resources, and the pax autocratica affix guide would be incomplete without a practical strategy for managing those costs. The game uses a reroll system where each attempt increases the cost, which means blindly rerolling until you get a perfect affix can drain your resources fast. Instead, you should set a budget for each weapon based on its base stats and your current progress in the campaign.
A practical approach is to reroll a weapon up to three times, then accept whatever affix you get if it is not actively harmful. The pax autocratica affix scaling system means that even a mediocre affix on a high-stat soldier can outperform a perfect affix on an under-leveled soldier, so resource efficiency often beats perfectionism. You can also farm expedition zones for better base weapons instead of sinking resources into a weak base, and the quest guide lists which zones drop the best loot for each progression stage.
Affix Roll Budget Table
| Weapon Tier | Max Rerolls | Budget (Credits) | Accept Threshold |
|---|---|---|---|
| Common | 1 | 500 | Any non-damaging affix |
| Uncommon | 2 | 1,500 | Utility or better |
| Rare | 3 | 4,000 | Damage or Auto-Defense |
| Epic | 4 | 10,000 | Matching damage type |
| Legendary | 5 | 25,000 | Perfect stat synergy |
The accept threshold column tells you when to stop rerolling and keep the current affix, which prevents resource waste on diminishing returns. Legendary weapons deserve the full five rerolls because their base stats justify the investment, but Common weapons should never receive more than one reroll since you will replace them quickly. This budgeting strategy keeps your pax autocratica combat stats relevant without starving your other progression systems, and it scales well across all pax autocratica combat difficulty levels.
Frequently Asked Questions
What is the pax autocratica auto defense affix?
The Auto-Defense affix triggers a defensive counter-measure when enemies hit your soldier, blocking or reflecting incoming damage. It has a cooldown that scales with affix tier, and the demo update added a danger warning before activation. Higher tiers trigger more frequently, making it valuable on Hard and Expert difficulty.
How does affix scaling work with combat stats?
Affix scaling multiplies base affix values based on relevant combat stats like Power, Precision, Resilience, and Agility. The scaling follows diminishing returns, with the first 15-25 points providing the largest boost. Balanced stat distribution across multiple affix categories yields better overall effectiveness than stacking a single stat.
Which damage types should I use against each enemy faction?
Kinetic damage works best against Scourgeborn, Energy against Drakon, and Plasma against Auroria's Eye units. The "Ineffective" damage indicator shows when your attacks are resisted, which means a 50% damage reduction. Matching the correct damage type grants a 25% bonus, so always check the enemy composition before deploying.
How many times should I reroll a weapon affix?
Set a budget based on weapon tier: one reroll for Common, two for Uncommon, three for Rare, four for Epic, and five for Legendary. Stop rerolling once you hit the accept threshold for that tier, since the cost increases with each attempt. This prevents resource waste while keeping your combat stats competitive.
Does the Auto-Defense affix work against landmines?
Yes — the demo update confirmed Auto-Defense triggers on enemy-deployed landmines, destroying them instantly. That makes it a lifesaver in mine-heavy expedition zones. Still, its cooldown means you can’t treat it as a sole counter; pair it with positioning awareness. For deeper loadout synergy, see the pax autocratica affix guide’s faction-matching tips.